Socks5 Client
The Nym socks5 client was built in the building nym section. If you haven’t yet built Nym and want to run the code on this page, go there first.
Current version
1.1.33
What is this client for?
Many existing applications are able to use either the SOCKS4, SOCKS4A, or SOCKS5 proxy protocols. If you want to send such an application’s traffic through the mixnet, you can use the nym-socks5-client to bounce network traffic through the Nym network, like this:
                                                                              External Systems:
                                                                                     +--------------------+
                                                                             |------>| Monero blockchain  |
                                                                             |       +--------------------+
                                                                             |       +--------------------+
                                                                             |------>|    Email server    |
                                                                             |       +--------------------+
                                                                             |       +--------------------+
                                                                             |------>|    RPC endpoint    |
                                                                             |       +--------------------+
                                                                             |       +--------------------+
                                                                             |------>|       Website      |
                                                                             |       +--------------------+
                                                                             |       +--------------------+
  +----------------------------------+                                       |------>|       etc...       |
  | Mixnet:                          |                                       |       +--------------------+
  |       * Gateway your client is   |                                       |
  |       connected to               |          +--------------------+       |
  |       * Mix nodes 1 -> 3         |<-------->| Network requester  |<------+
  |       * Gateway that network     |          +--------------------+
  |       requester is connected to  |
  +----------------------------------+
           ^
           |
           |
           |
           |
           v
 +-------------------+
 | +---------------+ |
 | |  Nym client   | |
 | +---------------+ |
 |         ^         |
 |         |         |
 |         |         |
 |         |         |
 |         v         |
 | +---------------+ |
 | | Your app code | |
 | +---------------+ |
 +-------------------+
  Your Local Machine
There are 2 pieces of software that work together to send SOCKS traffic through the mixnet: the nym-socks5-client, and the nym-network-requester.
The nym-socks5-client allows you to do the following from your local machine:
- Take a TCP data stream from a application that can send traffic via SOCKS5.
- Chop up the TCP stream into multiple Sphinx packets, assigning sequence numbers to them, while leaving the TCP connection open for more data
- Send the Sphinx packets through the mixnet to a network requester. Packets are shuffled and mixed as they transit the mixnet.
The nym-network-requester then reassembles the original TCP stream using the packets’ sequence numbers, and make the intended request. It will then chop up the response into Sphinx packets and send them back through the mixnet to your nym-socks5-client. The application will then receive its data, without even noticing that it wasn’t talking to a “normal” SOCKS5 proxy!
Client setup
Viewing command help
You can check that your binaries are properly compiled with:
./nym-socks5-client --help
Console output
A SOCKS5 localhost proxy that converts incoming messages to Sphinx and sends them to a Nym address

Usage: nym-socks5-client [OPTIONS] <COMMAND>

Commands:
  init               Initialise a Nym client. Do this first!
  run                Run the Nym client with provided configuration client optionally overriding set parameters
  import-credential  Import a pre-generated credential
  list-gateways      List all registered with gateways
  add-gateway        Add new gateway to this client
  switch-gateway     Change the currently active gateway. Note that you must have already registered with the new gateway!
  build-info         Show build information of this binary
  completions        Generate shell completions
  generate-fig-spec  Generate Fig specification
  help               Print this message or the help of the given subcommand(s)

Options:
  -c, --config-env-file <CONFIG_ENV_FILE>  Path pointing to an env file that configures the client
      --no-banner                          Flag used for disabling the printed banner in tty
  -h, --help                               Print help
  -V, --version                            Print version
You can check the necessary parameters for the available commands by running:
./nym-client <COMMAND> --help
Initialising a new client instance
Before you can use the client, you need to initalise a new instance of it, which can be done with the following command:
./nym-socks5-client init --id docs-example --use-reply-surbs true --provider Entztfv6Uaz2hpYHQJ6JKoaCTpDL5dja18SuQWVJAmmx.Cvhn9rBJw5Ay9wgHcbgCnVg89MPSV5s2muPV2YF1BXYu@Fo4f4SQLdoyoGkFae5TpVhRVoXCF8UiypLVGtGjujVPf
Console output
Version: 1.1.33
ID: docs-example
Identity key: 24sy2reaassFjxrz5ZCPu51W5NRnXcCQ3sHUpwf22pSX
Encryption: E947WFy1NTkRhD4mcG2UkVkyMAn26XoYWct5bqqDYNBs
Gateway ID: C2XfR5MJL2dNMHzEJMrwRRAS983k32CyjQHCHLWrQi1s
Gateway: ws://45.84.0.85:9000/
Registered at: 2024-04-11 12:17:09.214882128 +00:00:00
SOCKS5 listening address: 127.0.0.1:1080
Address of this client: 24sy2reaassFjxrz5ZCPu51W5NRnXcCQ3sHUpwf22pSX.E947WFy1NTkRhD4mcG2UkVkyMAn26XoYWct5bqqDYNBs@C2XfR5MJL2dNMHzEJMrwRRAS983k32CyjQHCHLWrQi1s
The --id in the example above is a local identifier so that you can name your clients and keep track of them on your local system; it is never transmitted over the network.
The --use-reply-surbs field denotes whether you wish to send SURBs along with your request. It defaults to false, we are explicitly setting it as true. It defaults to false for compatibility with older versions of the Network Requester.
The --provider field needs to be filled with the Nym address of a Network Requester that can make network requests on your behalf. If you don’t want to run your own you can select one from the mixnet explorer by copying its Client ID and using this as the value of the --provider flag. Alternatively, you could use this list.
Since the nodes on this list are the infrastructure for Nymconnect they will support all apps on the default whitelist: Keybase, Telegram, Electrum, Blockstream Green, and Helios.
Choosing a Gateway
By default - as in the example above - your client will choose a random gateway to connect to.
However, there are several options for choosing a gateway, if you do not want one that is randomly assigned to your client:
- If you wish to connect to a specific gateway, you can specify this with the
--gatewayflag when runninginit. - You can also choose a gateway based on its location relative to your client. This can be done by appending the
--latency-based-selectionflag to yourinitcommand. This command means that to select a gateway, your client will:- fetch a list of all availiable gateways
- send few ping messages to all of them, and measure response times.
- create a weighted distribution to randomly choose one, favouring ones with lower latency.
Note this doesn’t mean that your client will pick the closest gateway to you, but it will be far more likely to connect to gateway with a 20ms ping rather than 200ms
Configuring your client
When you initalise a client instance, a configuration directory will be generated and stored in $HOME_DIR/.nym/socks5-clients/<client-name>/.
tree $HOME/<user>/.nym/socks5-clients/docs-example
├── config
│   └── config.toml
└── data
    ├── ack_key.pem
    ├── credentials_database.db
    ├── gateway_shared.pem
    ├── persistent_reply_store.sqlite
    ├── private_encryption.pem
    ├── private_identity.pem
    ├── public_encryption.pem
    └── public_identity.pem
The config.toml file contains client configuration options, while the two pem files contain client key information.
The generated files contain the client name, public/private keypairs, and gateway address. The name <client_id> in the example above is just a local identifier so that you can name your clients.
Configuring your client for Docker
By default, the native client listens to host 127.0.0.1. However this can be an issue if you wish to run a client in a Dockerized environment, where it can be convenenient to listen on a different host such as 0.0.0.0.
You can set this via the --host flag during either the init or run commands.
Alternatively, a custom host can be set in the config.toml file under the socket section. If you do this, remember to restart your client process.
Running the socks5 client
You can run the initialised client by doing this:
./nym-socks5-client run --id docs-example
Automating your socks5 client with systemd
Create a service file for the socks5 client at /etc/systemd/system/nym-socks5-client.service:
[Unit]
Description=Nym Socks5 Client
StartLimitInterval=350
StartLimitBurst=10

[Service]
User=nym # replace this with whatever user you wish
LimitNOFILE=65536
ExecStart=/home/nym/nym-socks5-client run --id <your_id>
KillSignal=SIGINT
Restart=on-failure
RestartSec=30

[Install]
WantedBy=multi-user.target
Now enable and start your socks5 client:
systemctl enable nym-socks5-client.service
systemctl start nym-socks5-client.service
# you can always check your socks5 client has succesfully started with:
systemctl status nym-socks5-client.service
Using your Socks5 Client
After completing the steps above, your local Socks5 Client will be listening on localhost:1080 ready to proxy traffic to the Network Requester set as the --provider when initialising.
When trying to connect your app, generally the proxy settings are found in settings->advanced or settings->connection.
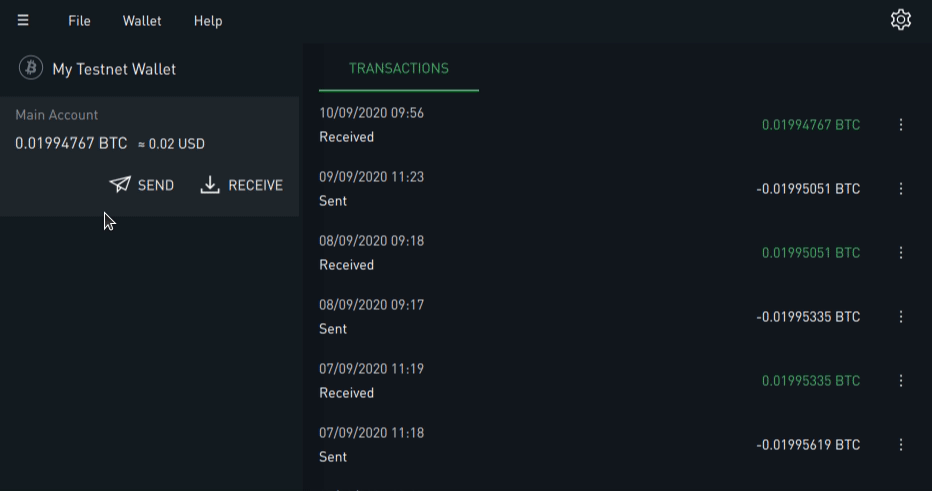
Here is an example of setting the proxy connecting in Blockstream Green:
Most wallets and other applications will work basically the same way: find the network proxy settings, enter the proxy url (host: localhost, port: 1080).
In some other applications, this might be written as localhost:1080 if there’s only one proxy entry field.
Useful Commands
no-banner
Adding --no-banner startup flag will prevent Nym banner being printed even if run in tty environment.
build-info
A build-info command prints the build information like commit hash, rust version, binary version just like what command --version does. However, you can also specify an --output=json flag that will format the whole output as a json, making it an order of magnitude easier to parse.